
- By admin
- In Hardwood Flooring
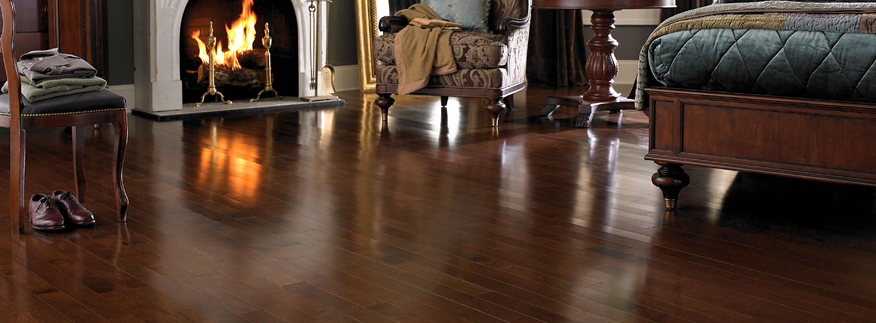
Hardwood Floors Mississauga
If you are a do-it-yourself type of person, then you often opt to install things yourself. This probably won’t change when you decide on new flooring, but luckily enough for you we have some general advice on how to go about installing hardwood flooring. Taking these steps that have been provided by top hardwood floors Mississauga stores will ensure that your job is done right the first time, with as little error as possible.
How to Install Hardwood Floors Mississauga
The first step is the obvious one as well. You have to decide on the type of hardwood species and dimensions for your floors. Sounds easy now, but wait until you have to make that critical decision about how you want your room to look for the next 10 years minimum. Next, you will need to measure your room to get the amount of square footage you’ll need for the room. It is always important to add an additional 15% to that amount to account for any irregular corners in the room, blemished boards, or mistakes when cutting the actual panels.
Subflooring is the floor underneath the hardwood. Its dimensions need to be 3/4 inches at minimum of plywood to provide a supportive surface for the hardwood floor. This is the foundation for every floor and needs to be made into proper dimensions. It also must be wood since hardwood flooring cannot be installed on other surfaces such as cement and concrete, since it cannot be nailed down into it. Make sure that the subfloor is void of any irregularities such as bumps, and uneven areas. The surface needs to be free of extra dust, dirt, and debris that can affect its interface with the hardwood.
Then it is time to install the first row of flooring. The panels need to be nailed into the subfloor, so use a 1.6 mm diameter nail in order to prevent splitting the wood. You will fasten the first row by getting the tongue to face the inside of the room. Continue the first row until you reach the wall at the side. Afterwards, get the rest of the flooring panels and spread the across the floor. The idea is to mix the colours, shades, and lengths to get uniformity throughout the floor rather than noticeable darker and light spots. Lastly, you continue installing the second row, and so on until all panels have been installed. Afterwards, it comes down to straightening, customizing end panels for obstructions in the room, and cutting corners (literally) to make the panels fit snug into the area.
Installing hardwood flooring can be relatively easy when done right. Good luck on your next flooring project, and let us know how it went!


